Published
Vercel recently announced a new service to generate OG Images dynamically. In this post I will show you how you can add this feature to a self hosted Next.js application.
Dynamically generated social cards are all the rage in web circles this year. GitHub now generates an image for every repo for example.
In the past, you could generate such images was with a complex system of mirrors and levers and headless Chrome, but that's behind us now as Vercel released a great library to generate SVGs from JSX.
Obviously this functionality is packaged as a service you can run on their platform. In case you're interested, you can read the official announcement here.
However, it's very simple to add this to any Next.js application even if you don't host it on Vercel's infrastructure. In this short post I'll explain how.
Prerequisites
This tutorial assumes you have a Next.js application ready on hand. If you don't have a Next.js app yet, you can follow the official Getting Started page and come back later.
API route
The next step is to create an
API route that
will generate images dynamically. This route should be a GET
endpoint that returns an image so we can use it in meta tags.
For example, assuming our domain is https://example.com, we
would add the following tag to our page:
<meta property="og:image" content="https://example.com/api/og" />We're going to generate the PNG in a later step. Let's start with
the skeleton of this endpoint. Create a new file
page/api/og.tsx. This will add an endpoint at /api/og. Copy
the following snippet in this file.
import type { NextApiRequest, NextApiResponse } from "next";
const handler = async (  req: NextApiRequest,  res: NextApiResponse,) => {  const png = null;
  // Generating images is CPU intensive so make sure to  // add cache headers to this request  res.setHeader(    "cache-control",    "public, immutable, no-transform, max-age=86400",  );  res.setHeader("content-type", "image/png");  res.status(200).send(png);};
export default handler;
With the default configuration, you can test this endpoint
locally at http://localhost:3000/api/og, but it will return an
empty page for now. The next step is generating an image we can
send.
Generating the image
First, you will need to add the following dependencies to your project using your preferred package manager.
npm install @resvg/resvg-js satoriyarn add @resvg/resvg-js satoripnpm add @resvg/resvg-js satoriSatori is Vercel's library to generate SVGs from JSX.
@resvg/resvg-js packages
resvg, an SVG rendering
library written in Rust, for Node. This library is necessary to
render SVGs in a raster format like PNG, as OpenGraph does not
support SVG as og:image:type.
After having installed all necessary dependencies, the boilerplate for generating a PNG image is as follows:
import type { NextApiRequest, NextApiResponse } from "next";import { Resvg } from "@resvg/resvg-js";import satori from "satori";
const handler = async (req: NextApiRequest, res: NextApiResponse) => {  const jsx = <div></div>  const svg = await satori(jsx, {    height: 630,    width: 1200,    fonts: [],  });
  const resvg = new Resvg(svg);
  const png = resvg.render().asPng();  res.setHeader("content-type", "image/png");  res.status(200).send(png);};
export default handler;
At this point you can use JSX as you normally would in a Next.js application, but, when it comes to styling, keep in mind that API routes don't run in a browser, and Satori uses the same layout engine as React Native, which means only a subset of CSS is implemented. Make sure to check Satori's README to understand what is supported.
All in all, this means you cannot easily re-use existing
components, and you're better off writing a one-off SocialCard
component that is custom made for this purpose.
Something else that wasn't immediately obvious to me is the fact
that if you plan on having any text content in an image, you'll
need to load a font, as there is no default. You can download a
font using fetch or load it from a local file.
In practice, I ended up adding a font file to the public
directory in my Next.js application and loading it in the API
route:
import fs from "node:fs/promises";import path from "node:path";
let alata: ArrayBufferLike;fs.readFile(path.join("public", "Alata-Regular.ttf")).then(  buffer => {    alata = buffer;  },);
You can then add it to the fonts list like so:
const svg = await satori(jsx, { height: 630, width: 1200, fonts: [], fonts: [{ name: "Alata", data: alata, weight: 400, style: "normal" }],});At this point you can use text in your components, make sure to specify the font family in the styles like so:
<div style={{ fontFamily: "Alata" }}></div>Putting it all together, an example from FantaAsta
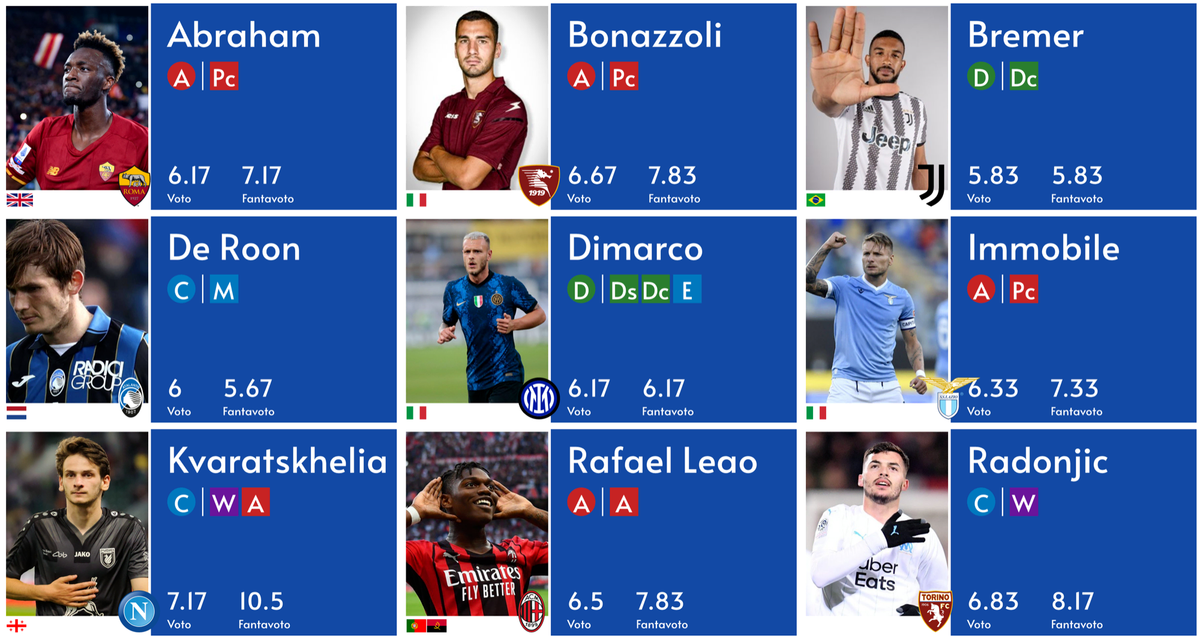
In my free time I work on FantaAsta, a platform for Italian fantasy football (soccer) auctions. I've recently added an API route that can generate an image for all football players in the database, by fetching data, images and composing a picture before rendering to PNG. You can see the end result in the image below or live at this URL: fantaasta.com/api/og/players/2544.
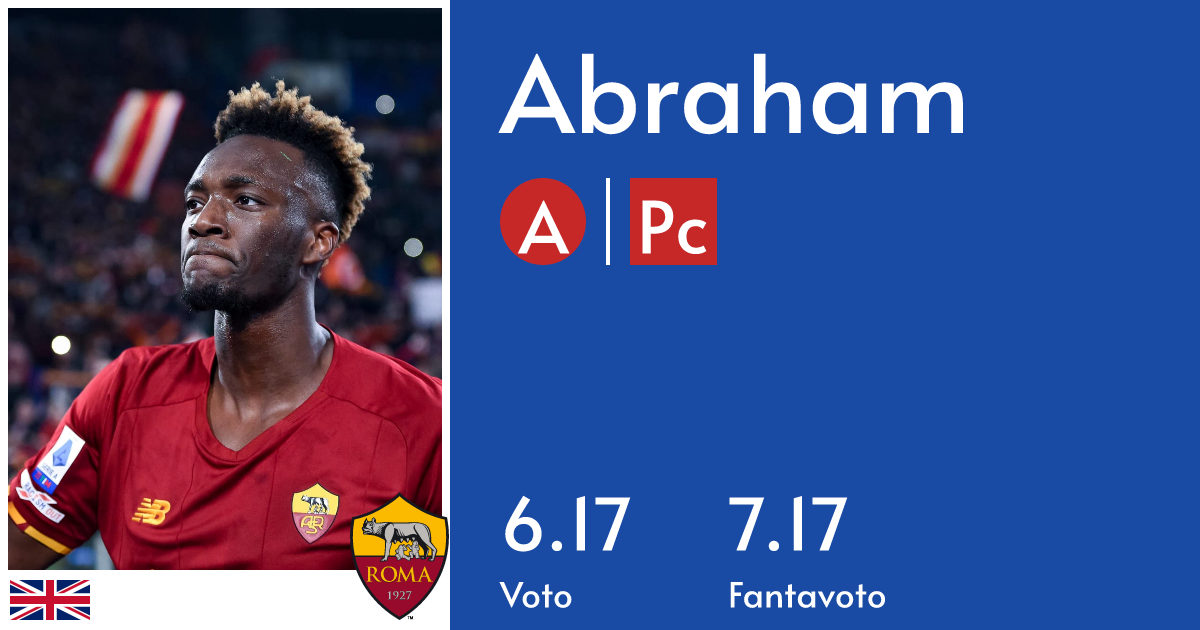
An OpenGraph image for Tammy Abraham's page in FantaAsta
To achieve this result a few more things need to be added to our
/api/og endpoint.
First, you'll want to turn this into a
Dynamic API Route.
This is so you can generate different images based on the URL.
For example, in FantaAsta the endpoint is
/api/og/players/[playerID].
You can then get the playerID from the URL in the handler. This
will be useful to fetch data for this specific ID. For example:
const handler = async (req: NextApiRequest, res: NextApiResponse) => { const { playerID } = req.query; const player = await (await fetch(`${BASE_URL}/api/players/${playerID}`)).json(); const jsx = <div style={{fontFamily: "Alata"}}> <h1 style={{ fontSize: 72 }}>{player.name}</h1> </div> ...};At this point you can draw the rest of the fucking owl ;)